









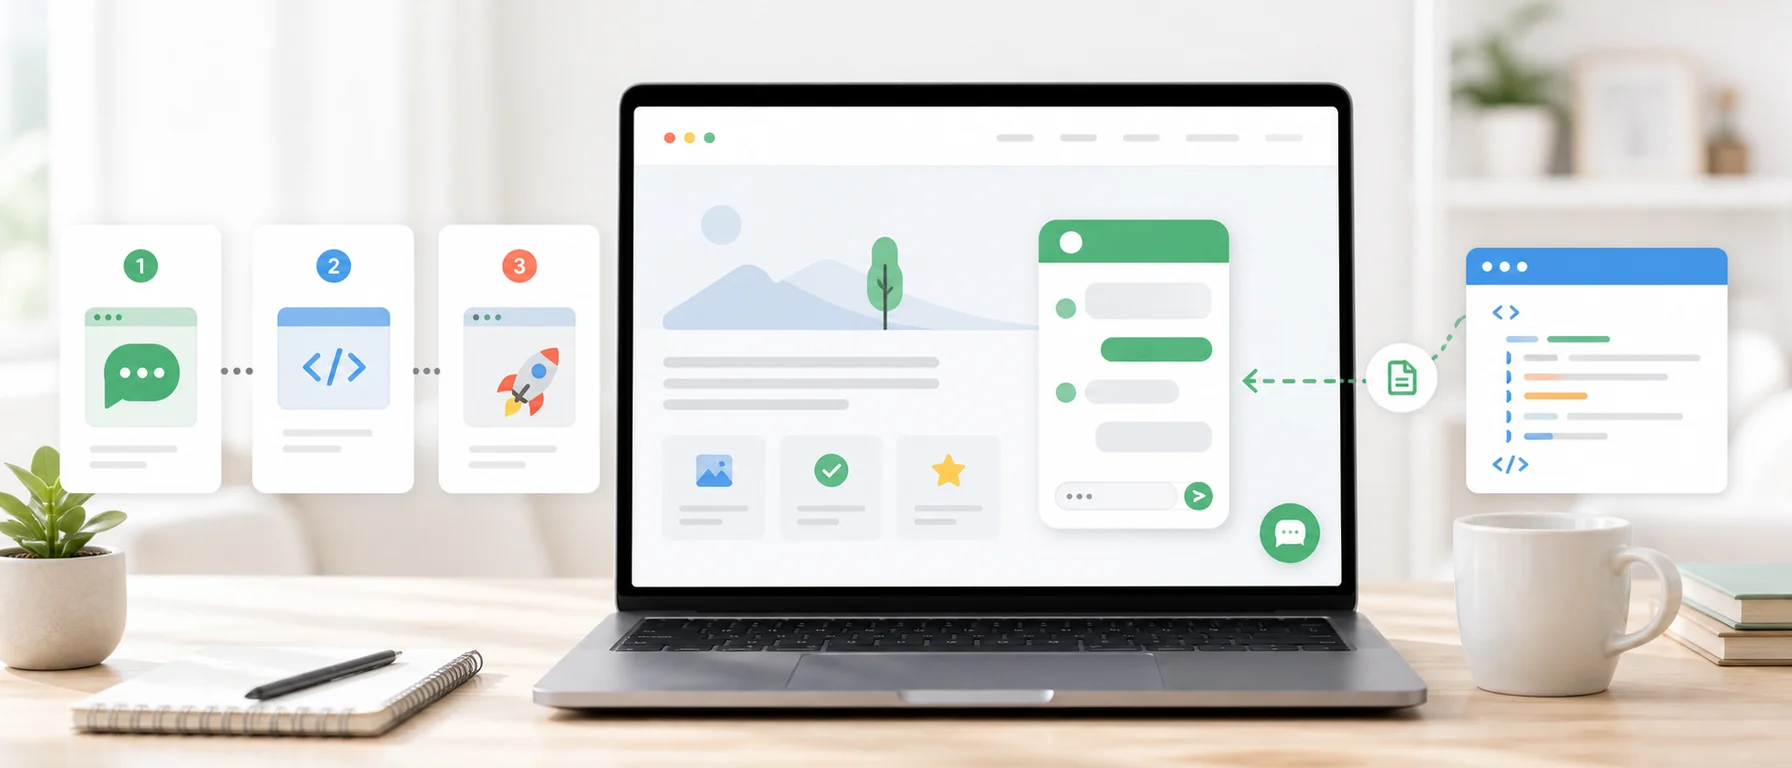
Adding live chat to your website may seem like a technical task that requires the help of a programmer. In practice, it usually comes down to creating an account, configuring the chat window and pasting one piece of code.
You do not need to build your own messaging system, configure a server or create an application from scratch. The ready widget acts as an additional element of the website and allows the customer to start a conversation without installing the application or creating an account.
In this guide, we show you how to add Chataptor’s free live chat to:
- regular HTML page,
- WordPress,
- WooCommerce,
- Shopify,
- Shoper,
- PrestaShop,
- a page using Google Tag Manager.
You can do the whole process yourself. The most important thing is to copy the code generated for a specific page and place it in the right place.
How to add live chat to a website: the quick version
The basic process is as follows:
- Create an account in the Chataptor system.
- Go to the Channels tab.
- Select Page Widget.
- Add the name and address of your website.
- Open the Widget Installation tab.
- Configure the chat appearance.
- Copy the code generated by Chataptor.
- Paste it on the page before the closing tag
</body>. - Save your changes and send a test message.
After proper installation, messages sent from the widget will start going to the Chataptor panel. You can reply to them from your browser or mobile application.
What do you need before you start?
To start live chat you need:
- website address,
- Chataptor account,
- ability to edit the page or its settings,
- access to the WordPress panel, store or website management system.
You don’t need to know HTML or JavaScript. In most popular systems, the code can be pasted into a special field for additional scripts.
If the website is managed by an agency or developer, simply send the generated code with the information:
Please add this script globally on all subpages, immediately before the closing tag
</body>.
Step 1. Create a free Chataptor account
The first step is to create a free Chataptor account.
In the registration form, provide:
- company name,
- your name,
- email address,
- password.
After submitting the form, check your mailbox and confirm your registration if you receive an activation message.
Chataptor is currently available for free, with no conversation limits and no paid features. It includes not only a chat widget, but also a mobile application, response templates, a shared inbox and automatic message translations.
Step 2. Go to the “Channels” tab
After logging in, open the Channels tab.
There are sources from which messages can reach Chataptor. One of them is Website Widget, which is a chat window displayed to site visitors.
You don’t have to set up WhatsApp, email, Facebook or other integrations right away. You can start with only live chat and add additional channels later.
Select Page Widget.
Step 3. Add your website
After selecting the widget, you will go to page settings.
Add a new page and fill in the following:
- page name,
- its web address.
The name helps identify the source of each conversation in the panel. This is especially useful if the company has several stores, brands, domains or language versions.
Example names:
- Shop Poland,
- Shop Germany,
- Company website,
- Retail Store,
- B2B panel.
In the address field, enter the full address of the website where you want the live chat to appear.
After completing the data, save the page.
Step 4. Configure the appearance of the widget
After saving the page, go to the Widget Installation tab.
Depending on the current version of the panel, you can set, among others:
- chat window title,
- welcome message,
- text field for entering messages,
- main color,
- light or dark theme,
- widget position,
- method of opening the window,
- automatic conversation translation.
You don’t have to refine all the settings at once. First, you can run a simple version, check its operation and only then change the appearance.
What welcome text should I set?
Keep your welcome message short and clearly state that the customer can ask a question.
Examples:
Good morning! How can we help?
Do you have a question about a product or order? Write to us.
Need help choosing a product? We are here.
Avoid long text describing the entire company. The customer opens the chat because he wants to start a conversation quickly.
Which widget color should I choose?
It is best to use a color that matches the visual identification of the website, but is also contrasting enough.
The button should be visible but not obscured:
- mobile menu,
- add product to cart button,
- information about cookies,
- other important page elements.
After launching the widget, check its appearance on both your computer and phone.
Step 5. Copy the code generated by Chataptor
After saving the configuration, Chataptor will generate an individual installation code.
The code contains an ID that connects the widget to the correct account and page. Therefore, you should not copy code you find in another guide, website, or third-party account.
Always use the full code generated in your Chataptor panel.
The fragment may look similar to the following example:
<body>
  <!-- Page content -->

  <!-- Tutaj wklej pełny kod wygenerowany przez Chataptor -->
</body>
Do not manually change script IDs, keys, or addresses. Appearance parameters can only be edited if you know what they are for.
Step 6. Paste the code before the </body> tag
The widget code should be added immediately before the closing tag:
</body>Example file layout:
<!doctype html>
<html lang="pl">
  <head>
    <meta charset="utf-8" />
    <title>My website</title>
  </head>
  <body>
    <h1>Welcome to our website</h1>

    <!-- Kod widgetu Chataptor wklej w tym miejscu -->
  </body>
</html>
Placing the code in the global footer or main template will make the chat appear on all subpages.
If you want it to be available only in a specific location, for example in a store but not on a blog, the installation method may require an additional condition or display rule setting.
How to add live chat to WordPress?
The simplest solution for a non-technical person is to use Chataptor integration with WordPress or a plugin that allows you to add scripts to the footer.
This could be, for example, a tool like:
- WPCode,
- Head & Footer Code,
- Header and Footer Scripts.
After installing the appropriate plugin:
- Open her settings.
- Find the code field in the footer.
- Paste the full code generated in Chataptor.
- Set display to full page.
- Save changes.
- Clear WordPress cache.
- Open the page in private mode and check the widget.
Field names may vary between plugins. Look for terms like:
- Footer,
- Body End,
- Before
</body>, - Scripts in Footer.
Installation via theme file
A technical person can add the script using the wp_footer mechanism or in the footer file of a child theme.
It’s not worth adding code directly to the main theme. Once it is updated, the change may be removed.
How to add live chat to WooCommerce?
WooCommerce runs on WordPress, so the installation is the same.
Chataptor code can be added:
- via script management plugin,
- through
wp_footer, - in the footer of the child theme.
After installation, please check especially:
- store home page,
- product card,
- basket,
- mobile device.
The widget should not cover shopping buttons or elements used when placing an order.
How to add live chat to Shopify?
In Shopify, the code can be placed in the main template file.
Before you start, it’s a good idea to create a copy of your active theme.
Then:
- Sign in to your Shopify dashboard.
- Open the Online Store section.
- Go to Themes.
- With the theme active, select the edit code option.
- In the Layout directory, open the file
theme.liquid. - Find the tag
</body>. - Paste the full Chataptor code directly before it.
- Save changes.
- Refresh the store and run a test conversation.
The code should be included in the main template so that the widget is available on all important subpages of the store.
How to add live chat to Shoper?
The exact name of the section may vary depending on the panel version and template used. The instruction on integrating Chataptor with Shoper may also be helpful.
Most often you should:
- Log in to the administration panel.
- Open the add-ons or integrations section.
- Go to custom integrations or your own code.
- Find the code field in the footer of the page.
- Paste the Chataptor code.
- Save changes.
- Check the store in a new browser window.
Look for the field described as pre-close code </body>.
If you don’t see this option, the code can be added by editing the template or sent to the store’s technical support.
How to add live chat to PrestaShop?
In PrestaShop, it is best to use a solution that does not require editing the main system files.
Possible methods are:
- module allowing you to add your own JavaScript,
- custom HTML module,
- hook
displayFooter, - footer of the theme used,
- a simple module prepared by the programmer.
The code should be loaded globally, preferably in the footer of the page.
PrestaShop main files should not be modified. A system update could remove the changes made.
How to add live chat to a regular HTML page?
If you have access to the site files:
- Open the main template or common footer file.
- Find
</body>. - Paste the Chataptor code directly before this tag.
- Save the file.
- Publish changes to the server.
- Refresh the page without cache.
If the website consists of many separate HTML files, the code should be added to each of them or to a common component loaded on all subpages.
How to install Chataptor via Google Tag Manager?
If the website already uses Google Tag Manager, the widget can be added without directly editing the website code.
Basic process:
- Create a new tag.
- Select the type Custom HTML.
- Paste the full code generated by Chataptor.
- Set launch rule on all pages.
- Save tag.
- Start preview mode.
- Check if the script is loading.
- Publish container.
This method is convenient, but requires Google Tag Manager to be properly installed on the site.
It is also worth checking the cookie consent configuration. If scripts are blocked until consent is given, the widget may appear only after accepting the appropriate settings.
Step 7. Check if the widget works
Once you save and publish the code, don’t stop working when the button appears.
Perform full test:
- Open the page in private mode.
- Check if the chat button is visible.
- Open widget.
- Send sample message.
- Log in to Chataptor.
- Check if the conversation appears in the dashboard.
- Reply to message.
- Make sure the response appears on the client side.
- Repeat the test on your phone.
Sample test message:
Good morning, I would like to check if the live chat is working properly.
If you use automatic translations, also perform the test in another language.
The widget does not appear on the page - what to check?
The most common causes of problems are relatively simple.
Code not published
Pasting code into the editor does not always mean publishing it. Verify that the changes have been saved and deployed to the live version of the site.
The code is only on one subpage
If the script was added to a single page instead of a global template, the chat will not be visible elsewhere.
Cache shows old version of the page
Clear:
- WordPress cache,
- cache of the plugin used,
- server or hosting cache,
- CDN cache,
- browser memory.
Then open the page in private mode.
Sample code pasted instead of account code
The code must contain IDs assigned to the correct account and page. Don’t copy the example from the article or third-party code.
The script has been changed
Check that the editor did not remove any code, quotation marks, or script attributes when pasting.
Another element is covering the widget
A cookie banner, contact button or mobile menu may appear above the chat. In this case, you need to change the position of the widget or the page layer settings.
The system is blocking external scripts
The cause may be:
- Content Security Policy,
- consent management mechanism,
- script blocking by security plugin,
- JavaScript optimization,
- ad or tracking blocking extension.
For the duration of the test, it is worth turning off script optimization and checking the website in another browser.
How to set up live chat so that customers actually use it?
Installing the widget is just the beginning. The chat should be visible, simple and tailored to the way customers use the website.
Don’t ask for too much information before the conversation
If a customer needs to provide name, surname, phone number, email address and some additional information, they can opt out before the first message is sent.
At first, collect only the data you really need.
Set realistic expectations
If the team only responds during working hours, it’s worth communicating this clearly.
Example:
Write a message. We respond from Monday to Friday from 8:00 a.m. to 4:00 p.m.
It’s better to give a real time than to promise an answer “immediately” when no one can give it.
Have your answers ready
The most frequently asked questions are:
- availability,
- delivery,
- returns,
- invoices,
- order status,
- cooperation.
In the Chataptor system, you can prepare saved replies for live chat and insert them using short commands, for example /delivery, /return or /invoice.
The template should make the response faster but still allow it to be tailored to a specific customer.
Turn on mobile notifications
The customer can write when no one is sitting at the computer. Customer service mobile app allows you to notice a new conversation and reply from your phone.
This is especially important in small companies where customer service is not a separate, 24/7 department.
Test automatic translations
If the site is visited by foreign customers, enable automatic conversation translation.
The customer can write in their own language, while the agent reads the translated message and replies in the language they use every day. Chataptor translates the reply before displaying it to the customer.
Does free live chat have limits?
This depends on the tool you choose.
Some free plans limit:
- number of conversations per month,
- number of operators,
- history length,
- number of pages,
- AI features,
- automation,
- ability to remove branding.
Therefore, before installation, it is worth checking not only whether the tool has a free plan, but also the moment when the company will have to switch to a subscription.
Chataptor is currently free live chat with no conversation limits. There is no separate paid AI translation package.
Do I need a developer to install live chat?
Mostly not.
A non-technical person can add the code themselves by:
- WordPress plugin,
- setting additional scripts in the store,
- Google Tag Manager,
- custom code field in the page builder.
Developer assistance may be needed when:
- the website uses a proprietary system,
- does not have access to the common template,
- strict security policy operates,
- the widget should only appear under certain conditions,
- installation requires changes to the theme or application.
How long does it take to add live chat to the website?
Just creating the channel and pasting the code may take a few minutes. It is worth spending more time on:
- setting widget content,
- testing the mobile version,
- preparation of response,
- establishing service hours,
- configure notifications,
- translation check.
It’s best to run a simple, working version first and then improve its look and feel based on real conversations.
Live chat launch checklist
Before completing the deployment, please check:
- Chataptor account is active.
- The page has been added to the Channels tab.
- The code generated for the correct page was used.
- Code was added globally before
</body>. - The widget is visible on your computer.
- The widget is visible on the phone.
- Does not cover buttons or cookie banner.
- Test message goes to the panel.
- The response is visible on the client side.
- Mobile notifications are working.
- The welcome text matches the page.
- The team knows who responds to new conversations.
- The most common answers have been prepared.
- Translations have been tested if needed.
Summary
To add live chat to your website, you do not need to create your own system or start a complicated implementation.
In the Chataptor system, the process comes down to adding a page, configuring the widget, copying the individual code and placing it before the </body> tag.
The code can be added directly to the HTML page, via WordPress, WooCommerce, Shopify, Shoper, PrestaShop or Google Tag Manager.
After installation, it is worth running a complete test conversation and checking the chat operation on the phone. Only then can you be sure that customer messages actually reach the team.
Chataptor allows you to start with a simple live chat and then also connect other communication channels in the same panel. The widget itself, mobile application, response templates and AI translations are available with no conversation limits and without a paid plan.
Want to launch chat on your website? Create a free Chataptor account, add your site and paste the generated widget code.
FAQ
How to add free live chat to your website?
Create an account in the Chataptor system, go to the Channels tab, add a website, open Widget Installation and copy the generated code. Then paste it before the closing tag </body>.
Where to paste the live chat code?
The code should appear in the global page template, immediately before </body>. Thanks to this, the widget will be available on all subpages.
How to add live chat to WordPress?
The easiest way is to use a plugin that allows you to add scripts to the footer. Paste the Chataptor code into the Footer or Before field </body>, save your changes and clear the cache.
Does Chataptor work with WooCommerce?
Yes. WooCommerce runs on WordPress, so the code can be added via the script management plugin, wp_footer, or the footer of a child theme.
How to add live chat to Shopify?
Open the active theme code, go to file theme.liquid and paste the Chataptor code before the </body> tag.
Can I add live chat via Google Tag Manager?
Yes. Create a Custom HTML tag, paste the Chataptor code, set it to run on all pages, and publish the container.
Why doesn’t live chat appear on the website?
The most common reasons are incorrect code, failure to publish changes, cache, blocking external scripts or adding the widget to only one subpage.
Does the customer need to install the application?
No. The customer uses the chat window directly on the website. The mobile app is designed for the business handling customer messages.
Is it possible to change the appearance of the widget?
Yes. You can customize the color, title, welcome message, message box text, theme, and button position, among other things.
Does free live chat have a conversation limit?
Chataptor currently has no conversation limit or paid features. The widget, mobile app and AI translations are available without an additional subscription.
Can I add a widget to several pages?
Yes. In the panel you can add additional pages and generate appropriate configurations for them. This helps separate conversations coming from different domains, stores or language versions.
Keep reading
Related guides
Free live chat with no message limits: alternatives to tawk.to, Smartsupp and Tidio
Looking for free live chat for your website? See when tawk.to, Smartsupp or Tidio are enough, and when Chataptor is a better fit as a free live chat with no message limits.
How to connect all communication channels with Chataptor: a step-by-step guide
Connect website chat, WhatsApp, Facebook, Instagram, Allegro and email to Chataptor. Manage multilingual customer messages in one dashboard.
Website chat with automatic translation: support customers in many languages
See how a website chat with automatic translation works. Customers write in their own language, your team replies in theirs, and the system translates the conversation in real time.